

Why Accurate Window Measurements Matter
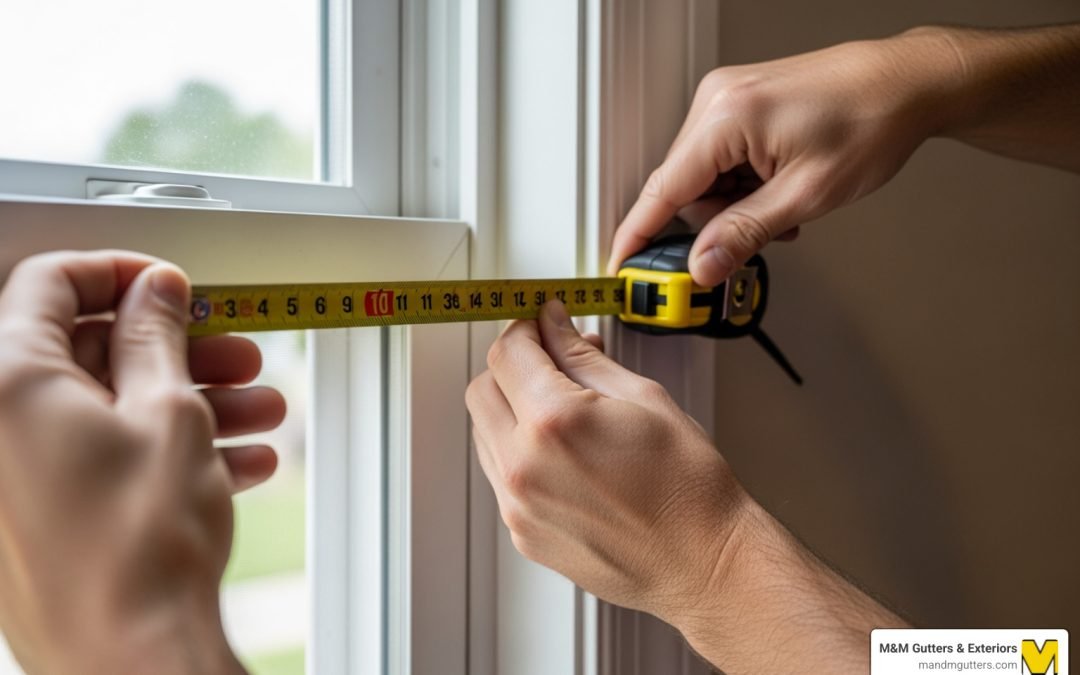
How do you measure a replacement window? Measure the width at three points (top, middle, bottom) between the jambs and use the smallest measurement. Then measure the height at three points (left, center, right) from the sill to the head and use the smallest measurement. Finally, measure the depth from the interior stop to the exterior stop.
Quick measurement steps:
- Width: Measure jamb-to-jamb at top, middle, and bottom — record the smallest
- Height: Measure sill-to-head at left, center, and right — record the smallest
- Depth: Measure interior stop to exterior stop — ensure at least 3-1/4 inches
- Square check: Measure both diagonals — should be within 1/4 inch of each other
- Final dimensions: Round down to nearest 1/8 inch before ordering
Getting these measurements wrong is more than frustrating. One homeowner shared their experience with a “window of shame” in their garage after rounding up measurements instead of down. The result? An expensive mistake that required reordering and waiting weeks for the correct size.
The stakes are real. Measurements that are off by even a quarter inch can lead to installation problems, air leaks, water intrusion, and wasted money. Windows that don’t fit properly compromise your home’s energy efficiency and can cause structural damage over time.
But here’s the good news: measuring for replacement windows isn’t complicated if you follow the right process. You just need to understand what to measure, where to measure it, and how to record it properly.
I’m Nathan Nuttall, and over my 30+ years at M&M Gutters & Exteriors, I’ve helped countless Utah homeowners navigate the window replacement process, including teaching them how do you measure a replacement window correctly to avoid costly ordering errors. Let me walk you through the exact process we use to ensure perfect window sizing every time.

Common how do you measure a replacement window vocab:
Essential Tools and Window Anatomy
Before you grab your ladder and start pulling tape, you need to make sure you have the right gear. Measuring isn’t rocket science, but it’s weirdly easy to screw up if you’re using the wrong tools or don’t know the lingo.
The Toolkit
At a minimum, you will need:
- A quality tape measure: If you’re unsure about the nuances of your tape, check out this video: How Do I Use a Tape Measure? Watch our video for tips on taking accurate measurements.
- A level: To check if your sill is flat and your jambs are straight.
- A notepad and pencil: Don’t trust your memory. Also, don’t write measurements on a scrap of paper or your kid’s homework—you’ll lose it.
- A flashlight: Essential for seeing into dark corners of the frame or checking for rotted wood in older Salt Lake City homes.
- A ladder: For those hard-to-reach second-story windows.
Understanding Window Anatomy
Before diving into the “how-to,” let’s brush up on window anatomy. Knowing these parts will help you avoid confusion when you’re talking to a supplier or installer.
- Head: The main horizontal part forming the top of the window frame.
- Jambs: The vertical side pieces of the window frame.
- Sill: The main horizontal part forming the bottom of the frame. Note: In the industry, we often call the interior ledge the stool, while the exterior part is the sill.
- Apron: The decorative trim piece found below the stool on the interior.
- Weep Holes: Small openings in the exterior sill that allow water to drain out. Make sure these aren’t clogged with gunk before you measure!
How Do You Measure a Replacement Window for Width and Height?
When people ask, “how do you measure a replacement window?” they are usually looking for the “rough opening” or the “tip-to-tip” dimension. For standard replacement (insert) windows, you are measuring the opening where the new window unit will sit.
Measuring the Width
You want to measure the horizontal distance between the side jambs.
- Measure in three places: the top, the middle, and the bottom.
- Measure from the surface of the jambs, not from trim strips or parting beads.
- Record all three and use the smallest measurement.
Why the smallest? Houses settle, especially along the Wasatch Front. A window frame that was perfectly rectangular 20 years ago might be slightly bowed now. Using the smallest measurement ensures the new window will actually fit into the hole.
Measuring the Height
Next, you’ll measure the vertical distance from the high point of the sill to the head jamb.
- Measure in three places: the left side, the center, and the right side.
- Record all three and use the smallest measurement.
For more specific details on certain styles, you might find The Double-Hung Window Measurement Handbook: No More Guesswork helpful. If you need a broader overview, our How to Measure Replacement Windows Guide covers the basics for various home types in Northern Utah.
Checking for Square, Level, and Plumb
Even if your width and height measurements seem perfect, your window might still be “out of whack.” Before finalizing your order, you must check if the opening is square, level, and plumb.
The 1/4-Inch Rule for Squareness
To check for square, measure the diagonals. Run your tape from the top-left corner to the bottom-right corner, then from the top-right to the bottom-left.
- If the two measurements are within 1/4 inch of each other, the opening is square enough for a standard replacement.
- If they differ by more than 1/4 inch, you’re looking at an “out of square” opening that may require extra shimming or a slightly smaller window to allow for adjustments.
Level and Plumb
- Level: Place your bubble level on the sill. If the bubble isn’t centered, your sill is sloped.
- Plumb: Place the level against the face of the jambs. This tells you if the walls are perfectly vertical.
If your windows are significantly out of plumb or level, it might be one of the 11 Signs You Need New Windows for Your Home, as structural shifting can lead to seal failure and drafts.
Finalizing Your Dimensions for Ordering
Once you have your smallest width and height, you need to finalize the numbers for the manufacturer. Most pros recommend rounding down to the nearest 1/8 inch.
Replacement vs. New Construction
It is vital to know which type of window you are ordering.
| Feature | Replacement (Insert) Window | New Construction Window |
|---|---|---|
| Installation | Fits inside the existing frame | Installed into the wall studs |
| Nailing Fin | Usually no nailing fin | Has a nailing fin for exterior attachment |
| Measuring | Measure inside the existing jambs | Measure the “Rough Opening” (stud to stud) |
| Trim | Interior/exterior trim stays mostly intact | Exterior siding/trim must be removed |
Windows are typically undersized by 1/4″ to 1/2″ total from the opening dimensions to allow for shimming and proper insulation. Some manufacturers do this automatically, while others expect you to provide the “exact” size you want delivered. Always clarify this with your vendor!
When considering different looks, check out Different Window Styles for Your Home to see how casements, awnings, or sliders might change your measurement requirements. And don’t forget the screens! Use our Measure Twice, Screen Once: A Foolproof Method for Replacement Screens guide to ensure you aren’t left fighting bugs all summer.
How do you measure a replacement window depth?
Depth is the “forgotten” measurement, but it’s critical. To ensure a proper fit, there must be at least 3-1/4 inches of jamb depth between the interior stop and the exterior stop.
- Open the window.
- Measure the space from the interior trim (where the window meets the wood) to the exterior stop.
- If you have less than 3-1/4 inches, a standard replacement window might protrude too far, and you may need a full-frame replacement instead.
How do you measure a replacement window that is out of square?
If your diagonal measurements are off by more than 1/4 inch, don’t panic, but don’t ignore it either.
- The “Window of Shame” Prevention: If the opening is racked, you must use the smallest possible width and height to ensure the unit fits in the “tightest” part of the parallelogram.
- Shimming: You will need extra shims during installation to “square up” the window within the crooked opening.
- Rotted Frames: If you find soft, brittle, or water-damaged wood while measuring, the frame must be replaced. Measuring a rotted frame is a waste of time because the new window won’t have a solid foundation.
If this sounds like more than you want to tackle, it’s worth looking into Don’t Get Paned: How to Find the Best Window Installation Near Me to find a pro who can handle the structural adjustments for you.
Frequently Asked Questions about Window Measuring
Should I measure from the inside or the outside?
Ideally, you should measure from the inside. This is where you can most easily access the jambs and stops. However, it’s a great practice to verify from the outside as well, especially on older homes where exterior trim might hide a slightly different opening size. If you don’t have trim, measure from drywall-to-drywall.
Do I need to measure every window if they look the same?
Yes! Never assume that two windows are identical just because they are in the same room. House settling, original construction errors, and different layers of paint can cause “identical” windows to vary by 1/2 inch or more. Measure every single opening individually and label them (e.g., “Kitchen Sink,” “Master Bed Left”).
What is the difference between measuring for replacement vs. new construction?
When people ask how do you measure a replacement window, they are usually doing a “pocket” installation where the old frame stays. For this, you measure inside the existing frame. For new construction, you are measuring the “Rough Opening” (RO)—which is the bare opening of the wall studs after the old window and its entire frame have been ripped out. New construction windows also feature a nailing fin, which replacement windows lack.
Conclusion
Measuring for replacement windows is a task where “good enough” isn’t actually good enough. By following the three-point measurement system for width and height, checking your diagonals for squareness, and ensuring you have the necessary 3-1/4 inches of depth, you can order with confidence and avoid the dreaded “window of shame.”
At M&M Gutters & Exteriors, we’ve been serving Salt Lake City and the surrounding counties—from Utah County up to Weber County—for over 30 years. We know that Utah’s extreme weather requires precision. That’s why we use advanced 3D visualization tools like HOVER to help you see exactly how your new windows will look before they’re even ordered.
If you’re feeling overwhelmed by the tape measure or worried about an out-of-square frame, we’re here to help. Our team of experts can handle the entire process, from professional measurements to flawless installation.
Ready to upgrade your home’s efficiency and curb appeal? Visit our Windows service page to learn more or schedule a consultation today. Measure twice, order once—or just give us a call and let us handle the tape measure for you!